
Precision Die Cutting: How to Reduce Scrap
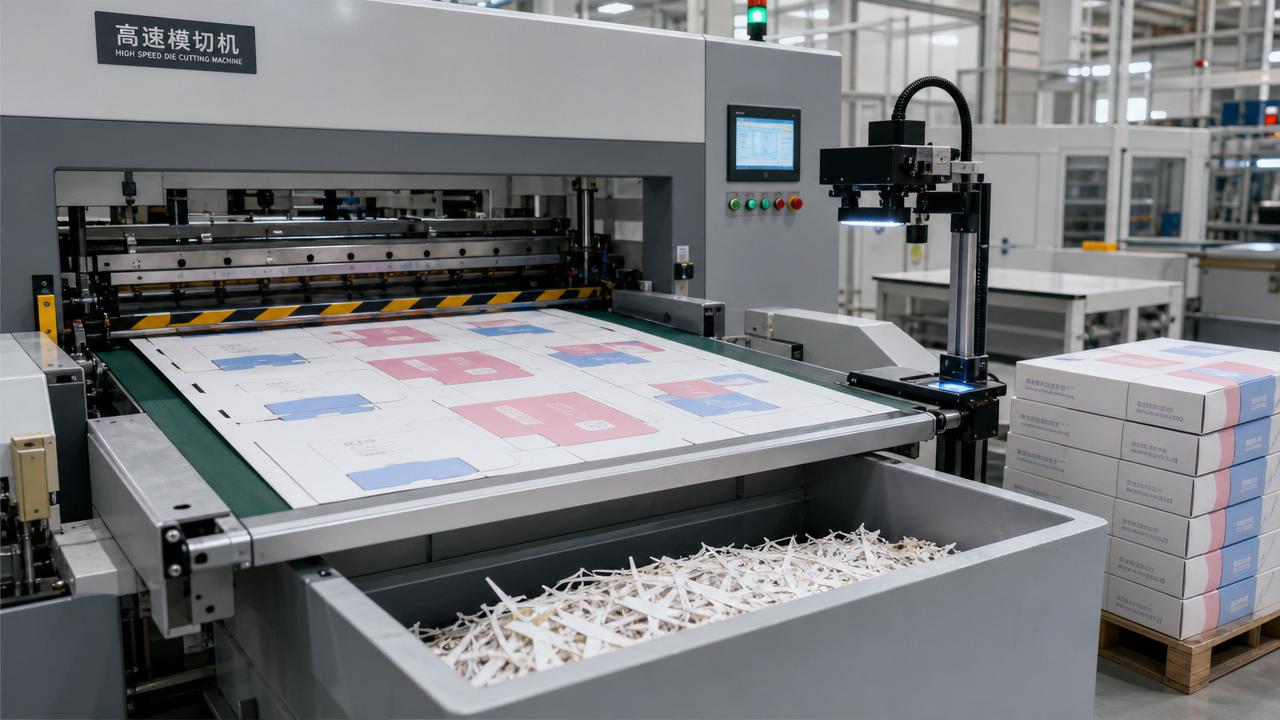
In high-speed packaging and post-press production, precision die cutting directly affects yield, material cost, and daily output stability.
For operators, reducing scrap is not only about sharper tooling.
It also depends on accurate setup, consistent substrate control, proper creasing pressure, and real-time inspection during every run.
This guide explains practical ways to identify scrap sources, optimize machine settings, and maintain repeatable cutting quality.
The goal is simple: improve efficiency while protecting margins in folding carton, corrugated, label, and specialty packaging work.
Why Precision Die Cutting Needs a Scrap Reduction Checklist
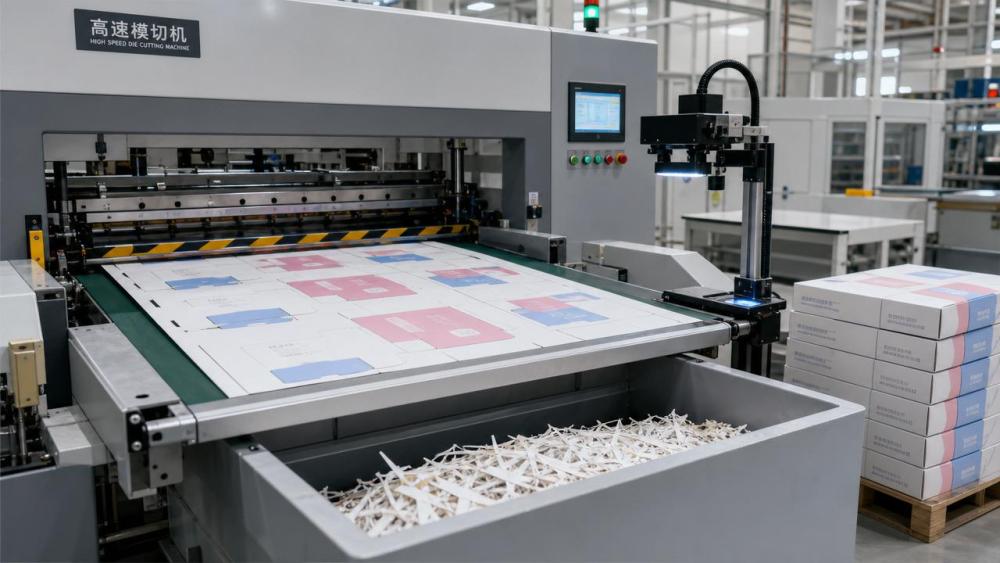
Scrap rarely comes from one visible fault.
In precision die cutting, waste often builds from small errors in registration, pressure, board moisture, stripping, and delivery.
A checklist turns those variables into repeatable controls.
It helps stabilize make-ready, shorten troubleshooting, and prevent the same defect from moving through thousands of sheets.
High-speed flatbed and rotary systems both need this discipline.
Even advanced servo feeding and camera inspection cannot compensate for poor tooling, weak nicking, or unstable substrate condition.
Core Checklist for Reducing Scrap in Precision Die Cutting
Use the following checklist before production release and during long runs.
Each item targets a common failure mode in precision die cutting operations.
- Verify die layout against approved artwork, grain direction, glue flaps, bleed zones, and registration marks before mounting tooling.
- Inspect cutting rules for wear, burrs, corrosion, uneven height, loose seating, and crushed areas near tight radii.
- Confirm creasing rules and matrix channels match board caliper, coating thickness, flute profile, and final folding direction.
- Set impression pressure gradually, then lock the lowest pressure that delivers clean cut-through without over-crushing fibers.
- Measure substrate moisture, curl, sheet squareness, and caliper variation before approving a full precision die cutting run.
- Control feeder suction, side guides, front lays, and sheet separation to prevent double feeds or drifting registration.
- Run a short make-ready batch, then check corners, internal slots, creases, stripping windows, and delivery stacking behavior.
- Document machine speed, pressure map, packing thickness, feeder settings, and approved sample photos for repeat orders.
- Monitor stripping pins, blanking tools, nick positions, and waste bridges when shapes become narrow, nested, or highly decorative.
- Stop immediately when scrap patterns repeat, because delayed correction multiplies material loss in precision die cutting.
1. Stabilize Registration Before Increasing Speed
Registration errors create cracked creases, exposed white edges, misaligned windows, and off-position embossing.
They are among the fastest ways to lose margin in precision die cutting.
Start with a moderate machine speed.
Confirm sheet arrival at front and side lays, then increase speed only after repeatable alignment is proven.
For printed carton work, compare cut position against key visual features, not only trim marks.
Brands notice border imbalance immediately.
2. Match Tooling to Material Behavior
A die that performs well on SBS board may fail on recycled board or laminated corrugated sheets.
Precision die cutting requires tooling choices based on fiber strength, coating, thickness, and folding stress.
Use sharper rules for dense stock and controlled bevels for coated surfaces.
For corrugated board, protect flute integrity during creasing.
Excess pressure may hide during cutting but appear later as weak corners, bulged folds, or collapsed retail displays.
3. Use Pressure Mapping, Not Guesswork
Uneven impression pressure causes partial cuts in one area and crushed board in another.
That imbalance is common in older platen systems and heavy-use cutting stations.
Apply pressure films, spot checks, or controlled patching to locate high and low zones.
Do not keep raising global pressure to solve a local problem.
Localized correction protects rules, reduces scrap, and extends die life in precision die cutting.
4. Control Nicks, Bridges, and Stripping
Poor nicking causes blanks to fall apart before delivery.
Excessive nicking leaves rough edges and slows downstream folding-gluing.
Set nick size according to shape weight, sheet path, speed, and stripping force.
Review waste bridges on small internal cutouts and display openings.
In precision die cutting, effective stripping is not secondary.
It decides whether good cutting quality survives the delivery section.
Scenario Notes for Common Production Applications
Folding Cartons for FMCG Packaging
Folding cartons often combine tight branding tolerances with high output expectations.
A small registration drift may create visible shelf defects across thousands of units.
For this application, precision die cutting should focus on edge quality, crease memory, and glue flap consistency.
Check folded samples on the folder gluer, not only flat blanks at the press.
Corrugated E-commerce Packaging
Corrugated jobs need balanced cutting strength and compression protection.
Over-creasing can reduce box stacking performance, especially in logistics packaging.
When using precision die cutting for corrugated board, monitor flute crush, liner cracking, slot clearance, and waste removal.
Document settings separately for B, C, E, and micro-flute structures.
Labels, Cards, and Thin Substrates
Thin films, labels, and premium cards are sensitive to over-cutting, adhesive bleed, and surface marking.
The scrap risk is often cosmetic, not structural.
Use lower pressure, sharper tooling, and clean delivery surfaces.
For kiss-cut work, precision die cutting must separate layers without damaging liners or release coatings.
Frequently Ignored Scrap Risks
Changing Substrate Lots Without Revalidation
A new paper or board lot can change moisture, stiffness, coating friction, and caliper.
Do not assume the previous make-ready remains safe.
Run a small confirmation batch after every lot change.
This habit prevents silent scrap growth in precision die cutting and downstream converting.
Ignoring Board Direction and Crease Recovery
Grain direction affects folding resistance and crack risk.
If the layout ignores fiber behavior, even clean cuts may produce poor assembled boxes.
Test crease recovery after folding and holding.
Precision die cutting quality must be judged after the package takes its final shape.
Running Worn Tooling Too Long
Dull rules increase cutting force, create fuzz, and encourage operators to raise impression pressure.
That creates a chain reaction of board damage and shorter tooling life.
Track impressions per die, visible edge defects, and pressure increases over time.
Preventive die maintenance is cheaper than reworking a failed precision die cutting batch.
Separating Cutting Quality from Downstream Performance
A blank can look acceptable at delivery but fail during folding, gluing, packing, or automatic filling.
Scrap may appear later in the value chain.
Connect precision die cutting inspection with folder-gluer trials, carton erection tests, and final packing checks.
This wider view reduces hidden waste.
Practical Execution Plan for Lower Scrap
A good plan is simple, visible, and measurable.
The following actions help convert checklist discipline into daily process control.
- Create a standard make-ready sheet for every precision die cutting job, including die code, substrate, pressure, speed, and inspection points.
- Set a first-article approval rule that includes flat blank inspection, folding test, stripping quality, and downstream compatibility.
- Record scrap by defect category, such as misregistration, partial cut, crease crack, stripping damage, feeder fault, or delivery jam.
- Review the top three scrap causes weekly, then assign one corrective action to tooling, substrate handling, setup, or maintenance.
- Train teams to stop on repeated defects, because precision die cutting rewards early correction and punishes delayed response.
Use Data Without Slowing the Line
Inspection does not need to become a bottleneck.
Use short intervals, sample boards, and simple defect codes.
Camera inspection can support high-speed precision die cutting, especially on printed cartons and nested designs.
However, data only matters when it triggers action.
Define stop limits for registration drift, incomplete cuts, broken waste bridges, and crease cracking.
Build Repeatability Into Repeat Orders
Repeat orders should become faster and more stable over time.
If each run starts from memory, the same scrap cycle returns.
Keep approved samples, machine settings, board lot notes, and die maintenance records together.
This archive strengthens precision die cutting repeatability across shifts and machines.
Summary and Next Action
Reducing scrap in precision die cutting depends on controlled details, not one dramatic adjustment.
Tooling condition, substrate behavior, registration, pressure balance, and stripping all interact during production.
Start by auditing the last three high-scrap jobs.
Classify defects, compare settings, inspect tooling, and review substrate variation.
Then build a job-specific checklist before the next run.
With consistent execution, precision die cutting becomes more predictable, less wasteful, and more profitable for modern packaging production.
Industry Briefing
Get the top 5 industry headlines delivered to your inbox every morning.
Recommended News